Thunderbolt R/C
Thunderbolt R/C - www.tboltrc.com
Buy Now!
TBOLT MAGNETICS

TBOLT MAGNETIC BUILDING FIXTURE INSTRUCTION GUIDE

BUILD BETTER WITH MAGNETICS!

TBOLT MAGNETIC BUILDING FIXTURES - .

TBOLT MAGNETIC Builing Accessories

Using a metal (magnetic) building board - TBOLT MAGNETIC Building Fixtures help assemble R/C Aircraft. TBOLT MAGNETIC Building Fixtures align and hold parts and assemblies together and to the magnetic (metal) building board.


Purchase TBOLT MAGNETIC Building Accessories

IMPORTANT: Magnets can move and impact with a lot of force when interacting with each other and with magnetic materials. Please handle with care.


TBOLT SIMPLE MAGNETS - ASSEMBLY DETAILS

TBOLT SIMPLE MAGNETS consist of three parts - a magnetic core and two steel plates (or poles). These offer good holding power when used with a metal building board, and are economical. TBOLT SIMPLE Magnets are very useful as a standalone fixture, and are the used in mulitples on other TBOLT MAGNETIC BUILDING Fixtures.

1 GLUE POLES TO CORE

If you decide to use a TBOLT SIMPLE MAGNET as a standalone fixture - you may want to glue the poles to the core. This makes handling the magent easier. Please note: we don't recommend gluing the poles to the core if you are using the magnets with a fixture. Also, the core will break if dropped or impacted - so handle with care.

ASSEMBLY

2 APPLY GLUE TO POLES

Separate the poles from the magnet core. Apply a small amount of adhesive to each pole - avoid getting adhesive close to the pole center hole. We recommend using TBOLT MMA-3B Adhesive.

TBOLT MMA-3B can be found here

Apply Glue to Poles

3 ATTACH POLES TO CORE

Use one of the included 10-32 bolts to align the poles to the core. Square up the poles and allow the adhesive to set.

Attach Poles to Core

4 ASSEMBLY COMPLETE

TBOLT SIMPLE MAGNET ready for use. Use these magnets to align parts and assemblies (spars, ribs, formers, etc) on your building board.

Magnet ready for use.

TBOLT SIMPLE MAGNETS - DONE!

TBOLT RIGHT ANGLE MAGNETIC FIXTURES - ASSEMBLY DETAILS

A TBOLT RIGHT ANGLE MAGNETIC FIXTURE consists of a trianglar 3D printed base (varies in size), QTY 4 - TBOLT SIMPLE MAGNETS, and mounting hardware. These fixtures offer excellent holding power when used with a magnetic (metal) building board. TBOLT RIGHT ANGLE MAGNETIC FIXTURES are excellent at holding and squaring up parts and assemblies.

1 GATHER COMPONENTS

To assemble a TBOLT RIGHT ANGLE MAGNETIC FIXTURE - you'll need a trianglar 3D printed base, QTY 4 - TBOLT SIMPLE MAGNETS, QTY 2 - 10-32 bolts, and QTY 2 - 10-32 nuts.

TBOLT RIGHT ANGLE MAGNETIC FIXTURE PARTS

2 SAND BASE EDGES

Sand the edges of TBOLT RIGHT ANGLE MAGNETIC FIXTURE base. The base may have some flashing/extra material from the 3D printing process. Lightly sand using 180 to 250 grit sand paper. Sand only enough to remove the excess material, and to square up the edges.

Sand Base

3 PREPARE MAGNETS

Place magnets on your table, align plates and insert one of the 10-32 bolts into the magnets.

Prepare Magnets

4 ATTACH MAGNETS TO BASE

Attach magnets onto base.

Attach Magnets to Base.

5 ATTACH MORE MAGNETS TO BASE

Attach the additional magnets onto base.

Attach Magnets to Base.

6 LOOSELY ATTACH NUTS

Loosely attach nuts to 10-32 bolts - don't tighten them yet!.

Attach Nuts.

6 SQUARE FIXTURE TO BENCH

Attach fixture to your bench. Use a square to square up fixture. Once square, tighten nuts.

Square to Bench.

6 ASSEMBLY COMPLETE

The TBOLT RIGHT ANGLE MAGNETIC FIXTURE is ready for use. Use the TBOLT RIGHT ANGLE MAGNETIC FIXTURE to hold parts and assemblies at right angles to your bench. You can also use a TBOLT RIGHT ANGLE MAGNETIC FIXTURE as a base for a verticle clamp.

Assembly Complete.

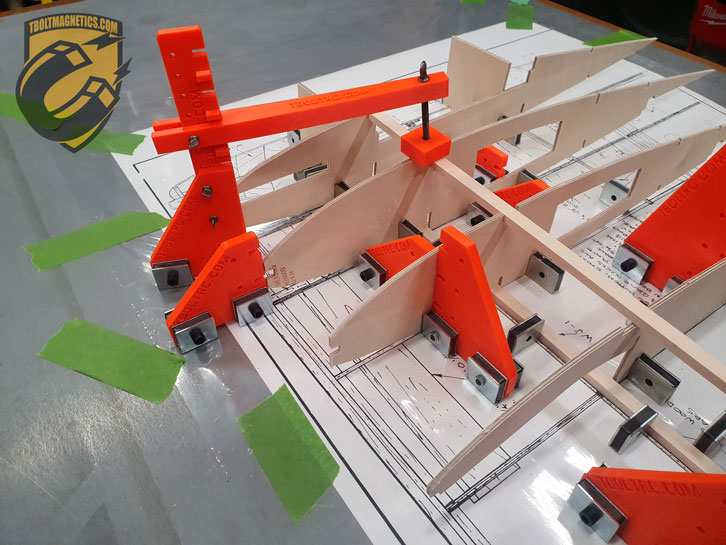
TBOLT RIGHT ANGLE MAGNETIC FIXTURES - WITH VERTICAL CLAMP - ASSEMBLY DETAILS

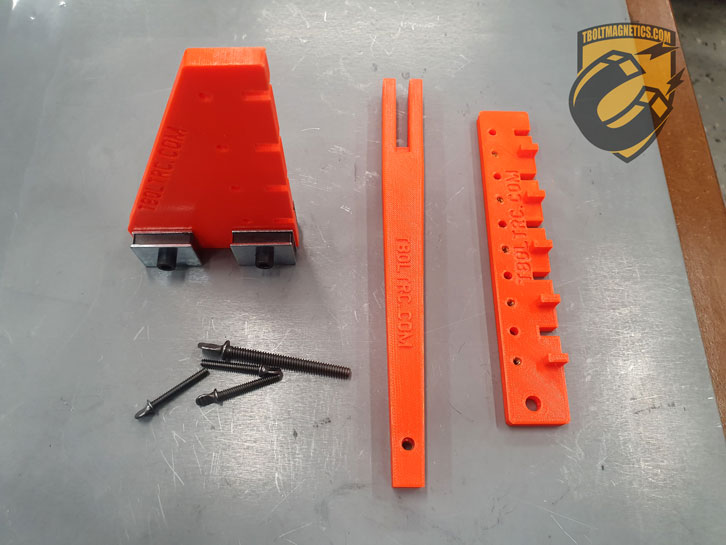
A TBOLT RIGHT ANGLE MAGNETIC FIXTURE - WITH VERTICAL CLAMP consists of a TBOLT RIGHT ANGLE MAGNETIC FIXTURE, a 3D printed extension plate, a 3D printed vertical clamp, QTY 3 - 6-32 thumb screws, and QTY 1 - 10-32 thumb screw. These fixtures can be used to apply downward force/holding power to parts and assemblies.
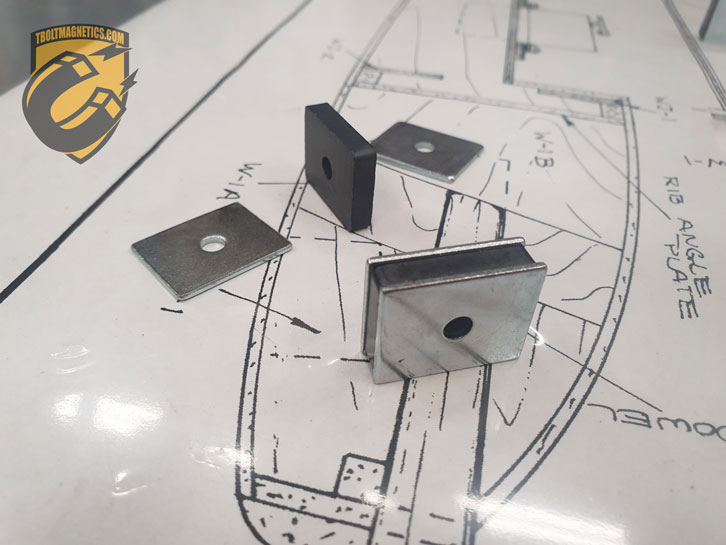
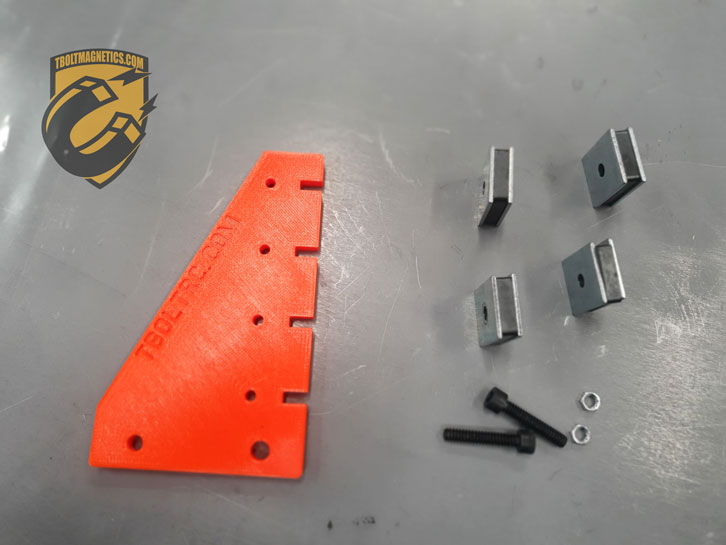
1 GATHER COMPONENTS

To assemble a TBOLT RIGHT ANGLE MAGNETIC FIXTURE - WITH VERTICAL CLAMP - you'll need TBOLT RIGHT ANGLE MAGNETIC FIXTURE, a 3D printed extension plate, a 3D printed vertical clamp, QTY 3 - 6-32 thumb screws, and QTY 1 - 10-32 thumb screw.

TBOLT RIGHT ANGLE MAGNETIC FIXTURE - WITH VERTICAL CLAMP PARTS

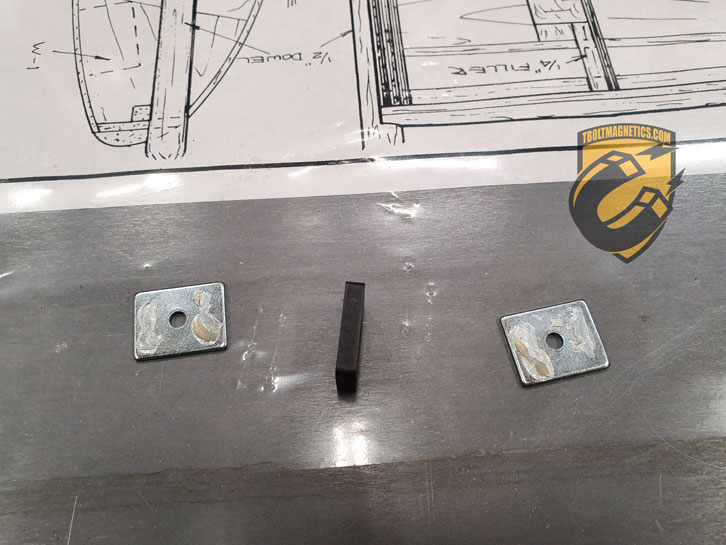
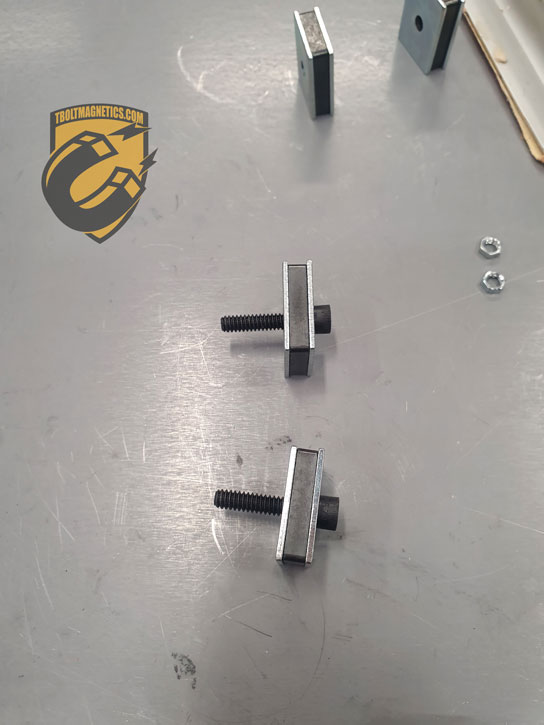
2 ADD VERTICAL CLAMP

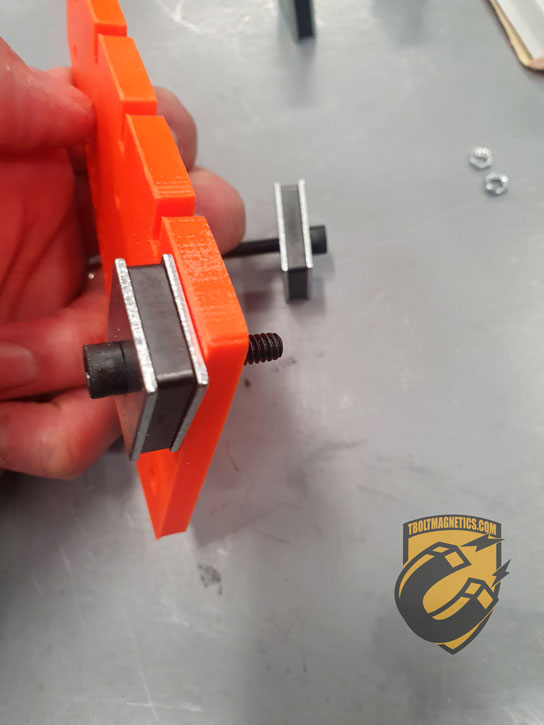
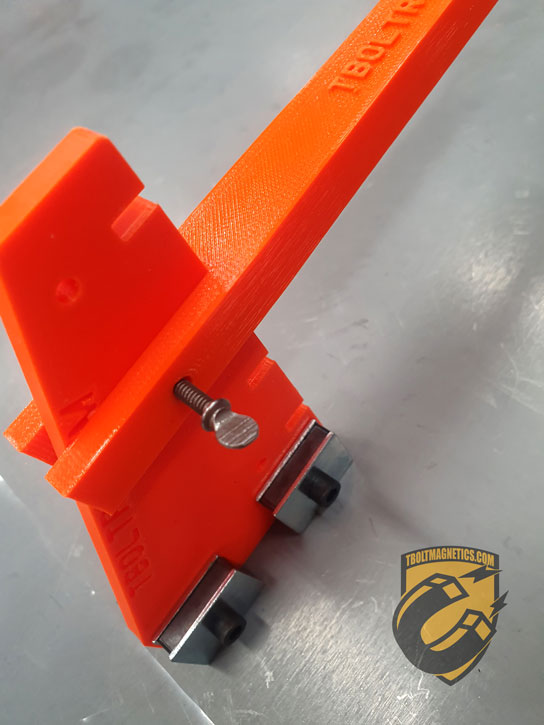
Vertical Clamps can be added directly to a TBOLT RIGHT ANGLE MAGNETIC FIXTURE or to an TBOLT RIGHT ANGLE MAGNETIC FIXTURE with an EXTENSION. To add a Vertical Clamp to a TBOLT RIGHT ANGLE MAGNETIC FIXTURE, slide the Vertical Clamp into one of the a slots on the TBOLT RIGHT ANGLE MAGNETIC FIXTURE.

Slide Vertical Clamp

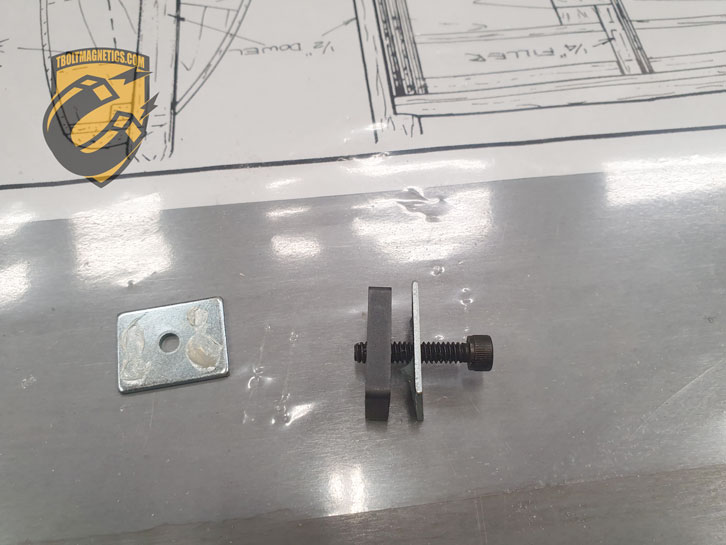
3 INSERT THUMB SCREW

Align the hole on the TBOLT RIGHT ANGLE MAGNETIC FIXTURE with the holes on the Vertical Clamp, insert the 10-32 Thumb Screw, and tighten. PLEASE NOTE: The thumb screw only needs to be finger tight - DO NOT OVER TIGHTEN.

Insert Thumb Screw

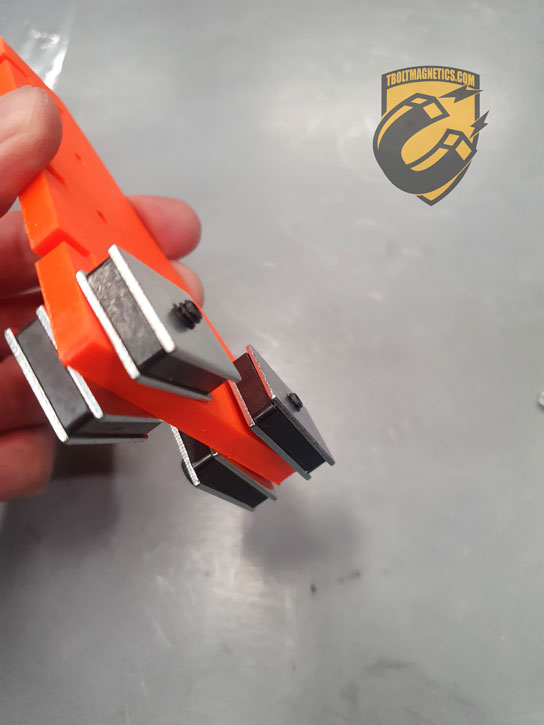
4 INSERT VERTICAL CLAMP THUMB SCREW

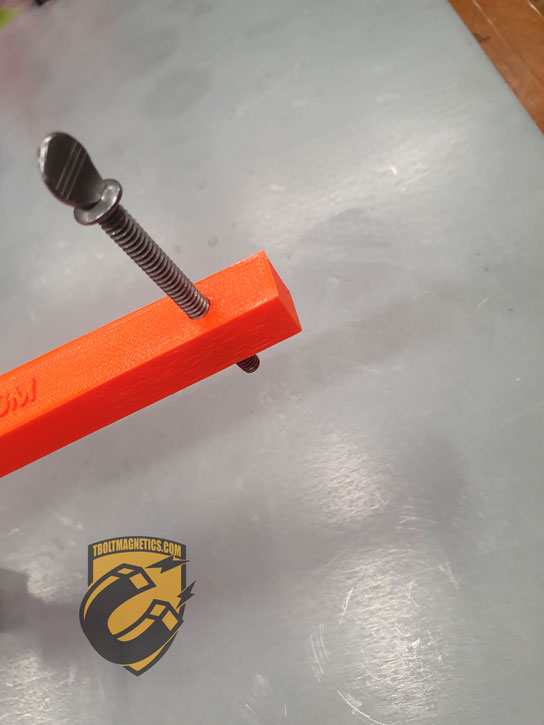
Insert Vertical Clamp 10-32 Thumb Screw. The TBOLT RIGHT ANGLE MAGNETIC FIXTURE - WITH VERTICAL CLAMP is ready to use!
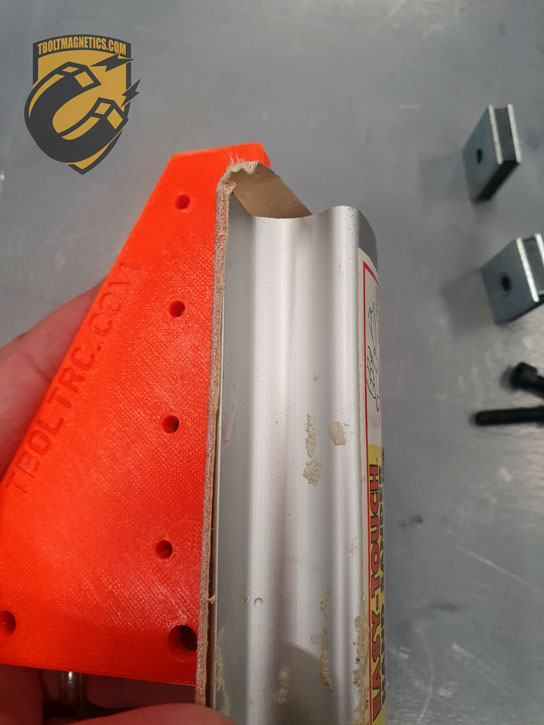
Insert Vertical Clamp Thumb Screw.

2 ADD EXTENSION

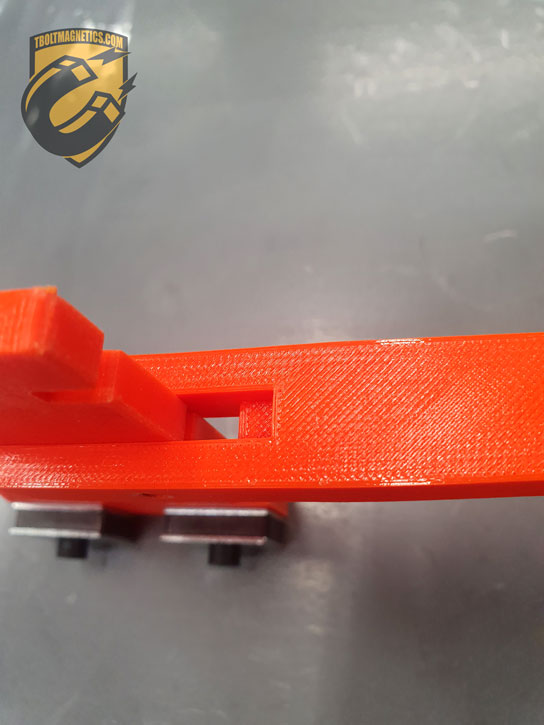
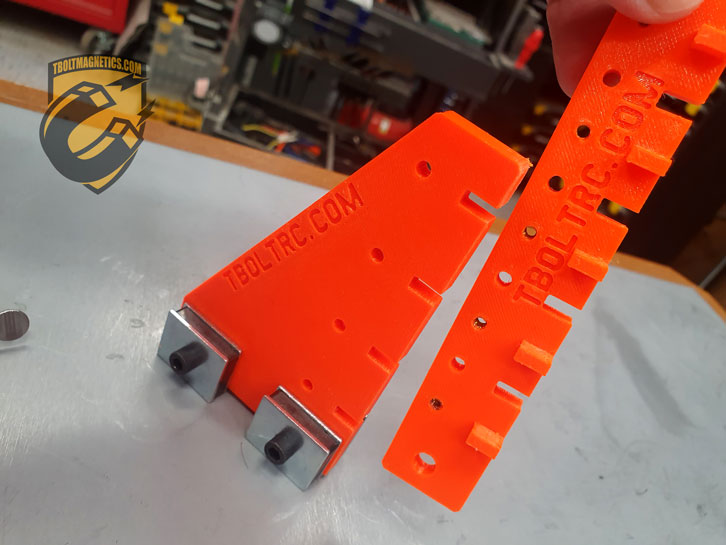
If you decide to use an Extension Plate - Align the 3D printed Extension Plate with the TBOLT RIGHT ANGLE MAGNETIC FIXTURE. The large hole on the Extension Plate should be facing down. Align the pegs on the Extension Plate with the slots on the TBOLT RIGHT ANGLE MAGNETIC FIXTURE.
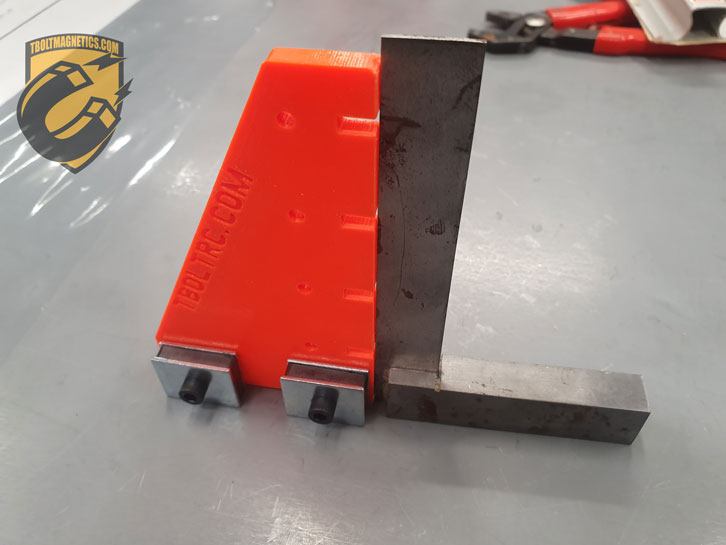
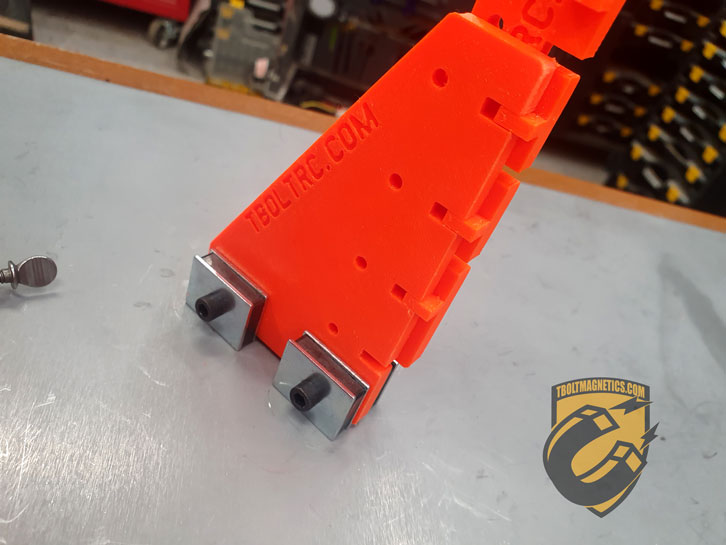
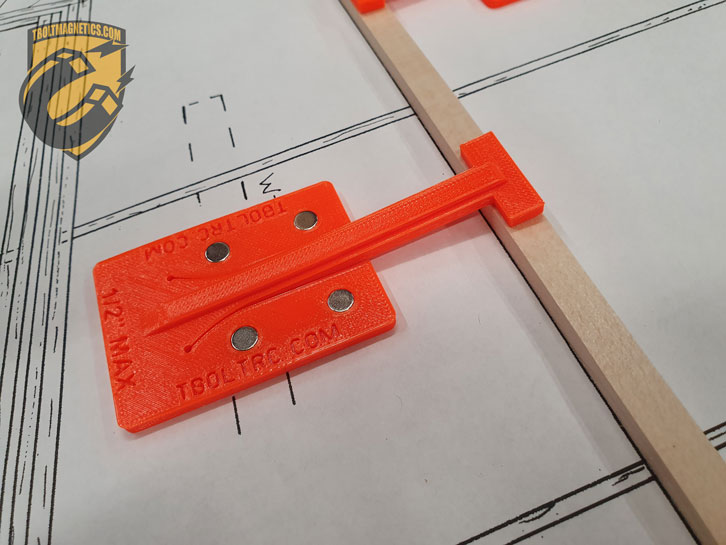
Add Extension.

3 EXTENSION ALIGNED

Here is an image of the Extension Plate aligned with the TBOLT RIGHT ANGLE MAGNETIC FIXTURE.

Attach Nuts.

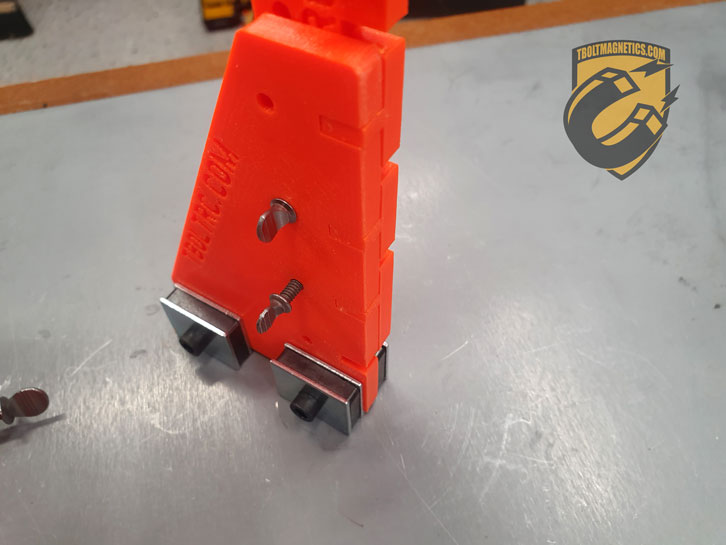
4 INSERT THUMB SCREWS

Line up the holes on the Extension Plate with the TBOLT RIGHT ANGLE MAGNETIC FIXTURE. Insert thumb screws and tighten. PLEASE NOTE: The thumb screw only needs to be finger tight - DO NOT OVER TIGHTEN.

Square to Bench.

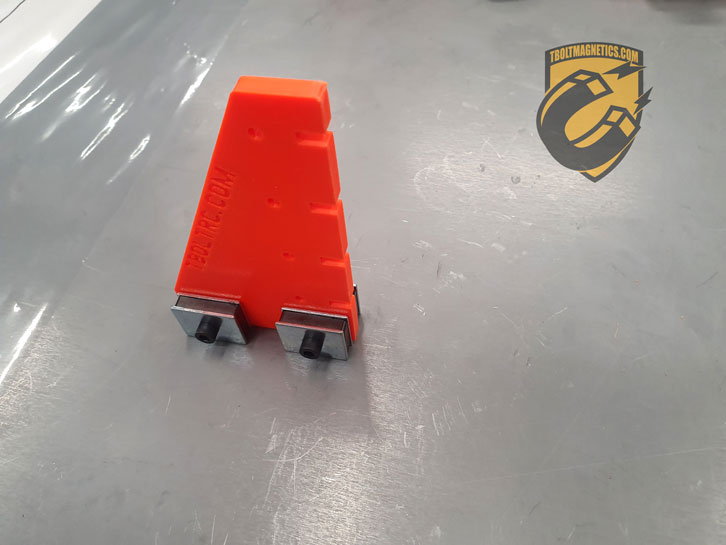
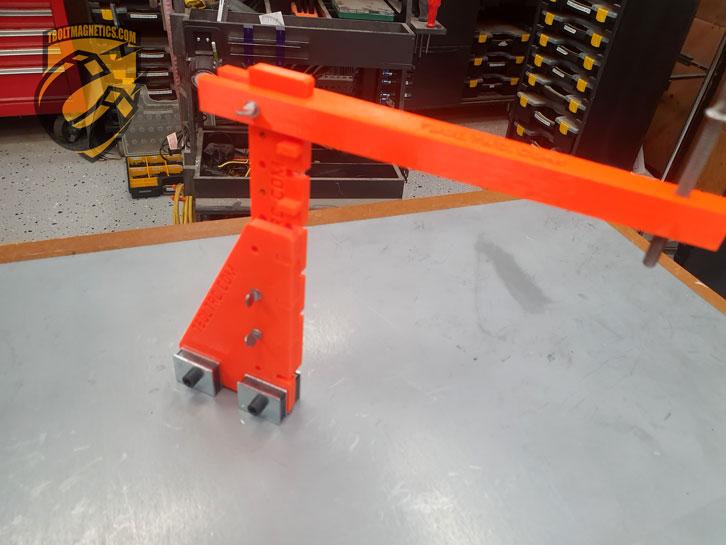
5b ASSEMBLY COMPLETE

Add the Vertical Clamp (if necessary) and The TBOLT RIGHT ANGLE MAGNETIC FIXTURE with EXTENSION PLATE and VERTICAL CLAMP is ready for use.

Assembly Complete.

TBOLT RIGHT ANGLE MAGNETIC FIXTURE - with EXTENSION PLATE and VERTICAL CLAMP DONE!

TBOLT SPRING HOLD DOWN MAGNETIC FIXTURES

TBOLT SPRING HOLD DOWN MAGNETIC FIXTURES do not require assembly - they come preassembled. TBOLT SPRING HOLD DOWN MAGNETIC FIXTURES hold material up to 1/2" thick down against your Magnetic Building bench.

1 TBOLT SPRING HOLD DOWN MAGNETIC FIXTURE USAGE

Line up the arm of the TBOLT SPRING HOLD DOWN MAGNETIC FIXTURE with the work piece that you want to hold down - push the body (rectangular part) of the Fixture down onto your Magnetic Building bench. Please note: This fixture can secure items up to 1/2" thickness.

TBOLT SPRING HOLD DOWN MAGNETIC FIXTURE

TBOLT RIGHT ANGLE MAGNETIC FIXTURE - with EXTENSION PLATE and VERTICAL CLAMP DONE!

Thunderboltrc.com has everything you need

Want to build with Magnets??

Click here for Bulk TBOLT Magnets Click here for TBOLT Magnetic Building Fixtures and Sets Thunderboltrc.com has everything you need

IMPORTANT: Magnets can move and impact with a lot of force when interacting with each other and with magnetic materials. Please handle with care.